To make it required to link a lab slip to certain appointment types/products/services, you first need to set this up. You can find out how here.
When you open an appointment balloon for an appointment type/product/service that requires a lab slip, the status is automatically set to [Missing] as long as no lab slips are linked.
In appointment balloons where no lab slip is required, you can still always add lab slips. The status is then always [No labs required].
You can still change the presence or status of a lab slip manually here.
The possible lab slip statuses are:
No labs required: no lab slips need to be added
Missing: lab slips are missing
Partial: one or more lab slips have already been added, but not all required products/services are linked to a lab slip yet
Complete: all required products/services are correctly linked to one or more lab slips
To add a lab slip from an appointment balloon, once the appointment has been created/scheduled, click [+ Add lab slip].
You can then choose to add a new lab slip or to link an existing one.
When you click [Add a new lab slip], a new [Add new lab slip] screen opens.
On the left of the screen, you can upload a file from your computer or from the documents.
You can also scan the document directly or drag it into the grey area.
Once the document has been uploaded correctly, its preview is shown on the left. Zoom in and out by moving the first vertical bar to the left or right.
Fill in the details yourself in the fields provided.
You can also let AI analyse the lab slip, so that all relevant sections of the lab slip are automatically linked to the correct products/services or appointment types.
Items that can't be linked with 100% certainty are highlighted in yellow, which means a human check is needed.
Because you're adding the lab slip from an appointment here, that appointment is selected automatically.
You can also drag the lab slip straight into your appointment balloon!
To link a lab slip, click [Add lab slip] and choose [Link existing lab slip]. A new [Select a lab slip] screen opens.
It shows the lab slips created for that patient. Link one with the [Select] button at the end of the line.
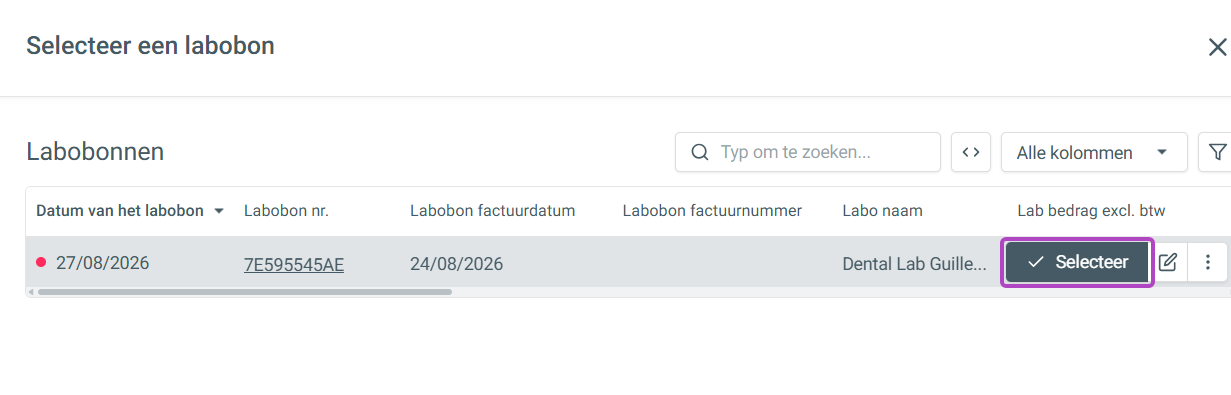
After selecting the lab slip, you can still edit it, and then click [Save].
Once the lab slip has been saved correctly, the lab slip status in the appointment balloon shows [Complete]. In the diary, the box icon on the appointment is now also filled in.
In the patient record, you'll find the [Lab slips] tab in the left column.
This tab shows all lab slips linked to that patient. At the top left, you can easily add a new lab slip by choosing [+ Add new lab slip].
You get the same [Add new lab slip] screen as when adding a lab slip from the appointment balloon. The only difference is that the appointment/product/service/treatment isn't selected automatically here.
Once all the necessary details have been uploaded and filled in, save the lab slip.
If you save a lab slip without linking it to an appointment, treatment or product/service, you need to confirm this, so that no potential link is lost.
After you've saved the lab slip, it appears in the patient's list of lab slips.
The red dot at the start of the line warns you that this lab slip hasn't been linked yet.
In your treatment, below the mouth chart, you'll now find [Lab slips] next to the treatment summary, imagery and documents.
By choosing [+], you can also add a lab slip directly to the correct treatment here.
Adding a lab slip while editing an existing appointment works the same way as from the appointment balloon. You can find out how to edit an appointment here.
At the bottom, below the field where you can add appointment notes, you'll find the [Laboratory] section, where you can add a new lab slip or link an existing one.
You can also add new lab slips from the reports.
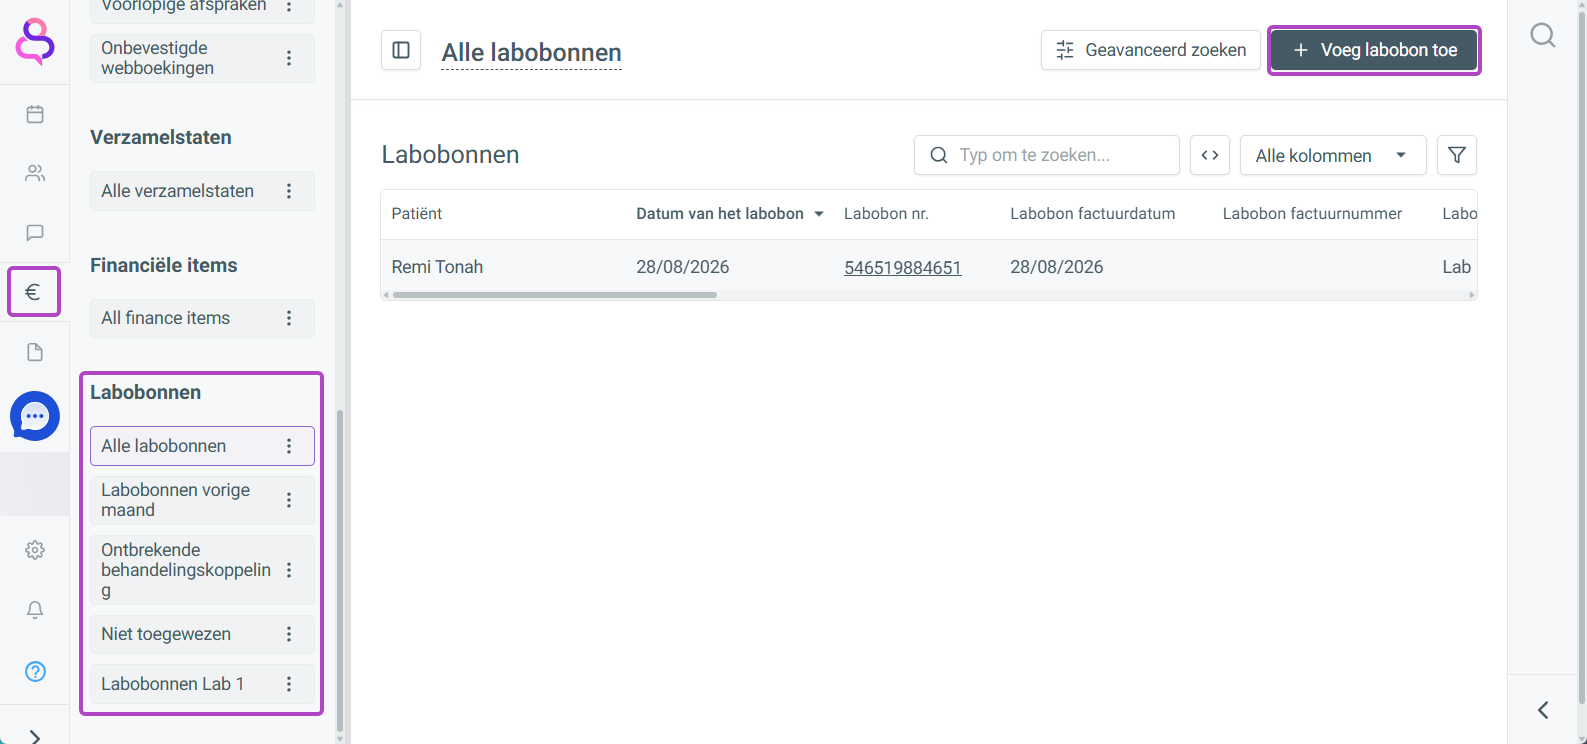
In the reports tab [€], you'll find an overview of all lab slips.
From the lab slips report, click [Add lab slip] at the top right.